I have always wanted to try out the LEE filter system, spurred on by gorgeous, ghostly images of seascapes and streaked images of surreal skies. At the beginning of this year I finally got the chance to take them with me on a few assignments, and they didn’t disappoint.
In fact, not only did they exceed my expectations, but filters have introduced me to a new source of photographic inspiration. Previously I had relied on creating HDR’s by bracketing exposures and blending them in post-production, but the ability of filters to transform the scene before you, altering the light you see and creating final image results in camera, is addictive. You see a scene? You can shape it. You are given control over light to create the images you envision without having to spend extensive time in Photoshop.
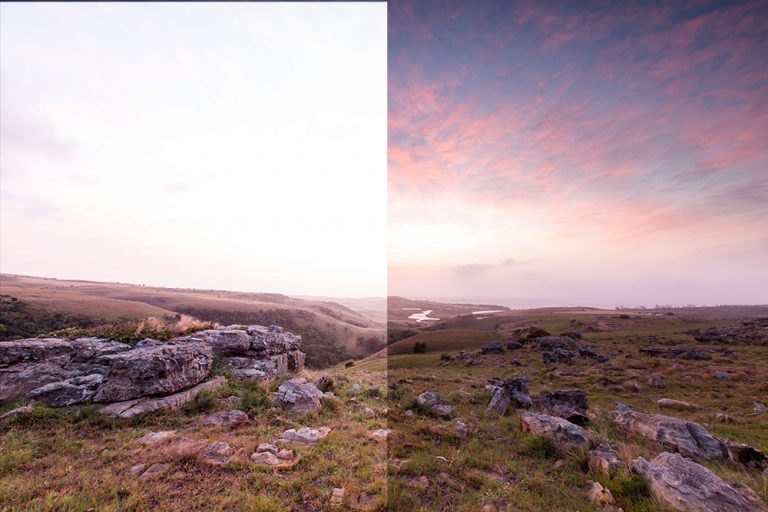
On the left, without filters. On the right, the effect of the 0.6 Hard and 0.9 Soft ND grad combined.
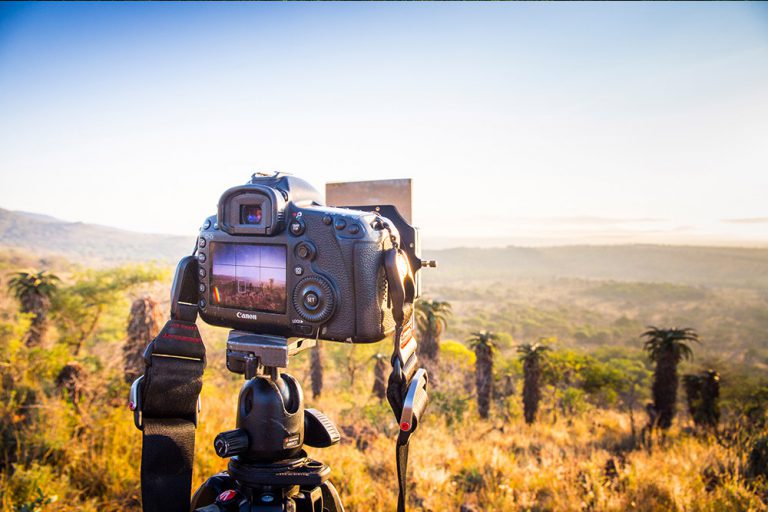
LEE 0.9 Soft Grad ND to darken the sky over aloes at sunrise.
As you can tell, I’m a fan. So much of a fan that even though filters have been used by countless photographers for many years, I’m almost reluctant to share my new ‘toy’ in photography with others. But – deep breath – here goes.
What are photography filters?
Filters are accessories placed in front of your lens that alter the incoming light and achieve an effect that can seldom be duplicated using computer software. A Neutral Density (ND) filter, for example, reduces the intensity of the light before it enters the camera lens. Made from a clear resin, an ND filter is designed so as to have no impact on the colours in your scene. With any reduction in light, however, there is always the chance of a loss in image quality. This is where LEE filters come in – handmade to the highest standards, LEE filters are able to reduce incoming light while retaining excellent image quality. I used the LEE graduated Neutral Density (ND) filters which come in their DSLR starter kit, the 0.9 Soft ND Grad and the LEE Little Stopper and Big Stopper.
Graduated filter: This filter is generally used to balance bright skies with a darker landscape beneath. One half of the optically-correct resin filter is clear while the other half is of neutral density. Hard graduated filters have a more abrupt transition between the halves, while soft graduated filters have a gentle, smooth transition.
Little Stopper: This square filter reduces the amount of light by 6 f-stops, allowing longer exposures and blurred movement effects.
Big Stopper: Like the Small Stopper, except the Big Stopper reduces the amount of light by 10 f-stops so you can get even longer exposures. Pair this up with a shutter-release cable and you can take exposures that are minutes in length.
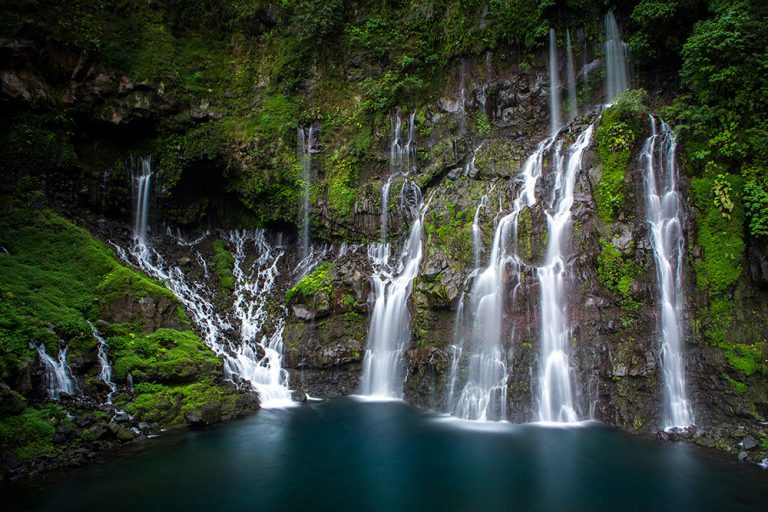
The Grand Galet waterfall, shot using the LEE Little Stopper to slow the exposure to 10 sec, blurring the streams of water.
Once you have an understanding of how your DSLR works and can comfortably navigate between aperture, ISO and shutter speed to achieve exposures you want, you’ll find filters easy to manage. You can also get filters for compact cameras (that’s your mik and druk), super wide-angle lenses, Go Pro’s, lights, and even medium-format cameras.
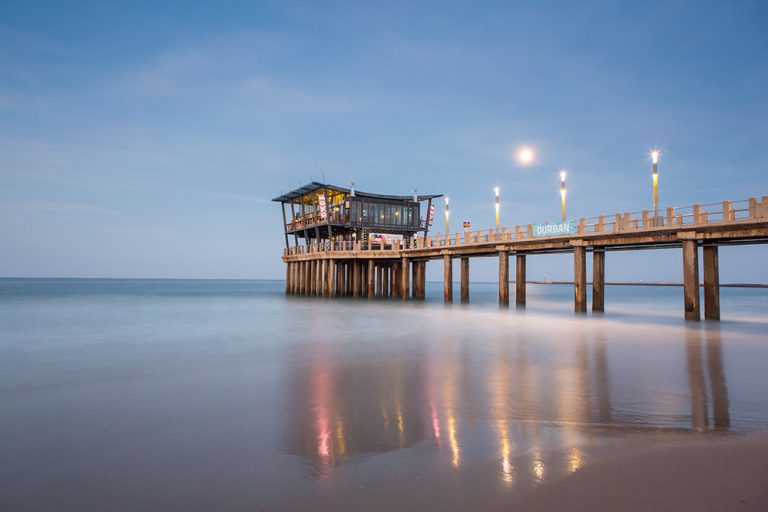
Using the LEE 0.9 Soft Grad ND filter and LEE Little Stopper. ISO 400, f/7.1, 30 sec.
So how do you get started?
When I first enquired about filters, I had in mind perhaps one graduated filter and the LEE Big Stopper. I knew I also needed a filter holder.
What I didn’t realise however, was the importance of having a variety of graduated filters for different scenes, or that some scenes are too dark for a Big Stopper and in fact, the Little Stopper was better suited. Not only this, but the Stoppers work best when you are using them in tandem with a graduated filter, i.e using a Little Stopper to slow exposures, and a soft ND filter to darken the skies. For this reason I recommend investing in the 100mm DSLR Starter Kit and 0.6 soft grad ND filter before you buy a Stopper. Both the Little and Big Stoppers retail for R2390, and of the two I would buy the Little Stopper first.
100mm DSLR Starter Kit costs R5685 and consists of:
- A two-slot pre-assembled filter holder
- ProGlass 0.6 ND filter (reduces exposures by 2 f-stops)
- 0.6 Hard Grad ND
- Cleaning cloth
- Triple carry pouch

100mm DSLR Starter Kit.
You will also need to buy an adaptor ring specific to the lens you are using. You can buy LEE filters through their SA stockists, Camquip SA, run by Brendan and Roy Pursey. Brendan has been involved with LEE filters for 20 years. He is hands-on and will take every effort to explain to you what you need, or to talk you through any issues you are having – this I know from experience. You can contact him on [email protected] and you can get more information about all the LEE products on their international website.
I began using LEE filters with the full expectation that I would enjoy working with them. What I didn’t realise was that I would love using them, and that through using them I would learn more about composition and improve my all-round photography. I’ll talk more about what I have learnt through using LEE filters in the second part of this blog, coming soon.
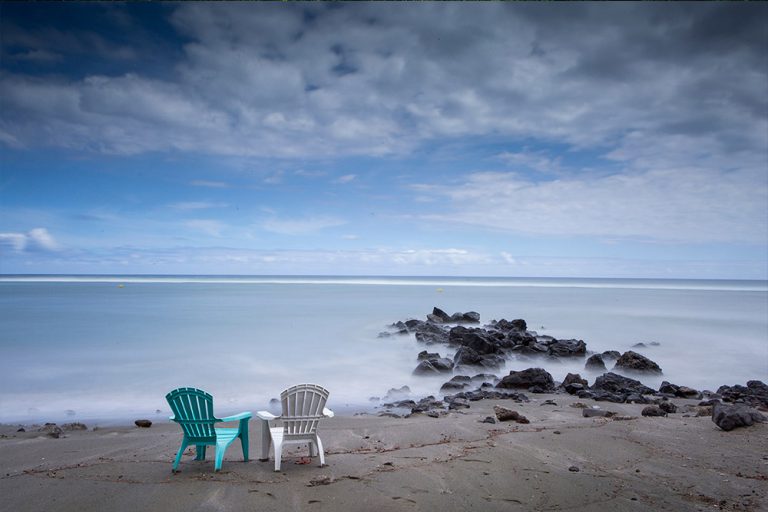
Beachside chairs, taken using the Little Stopper and 0.9 Soft Grad ND filter at 10.40am. ISO 100, f/22, 30 sec.
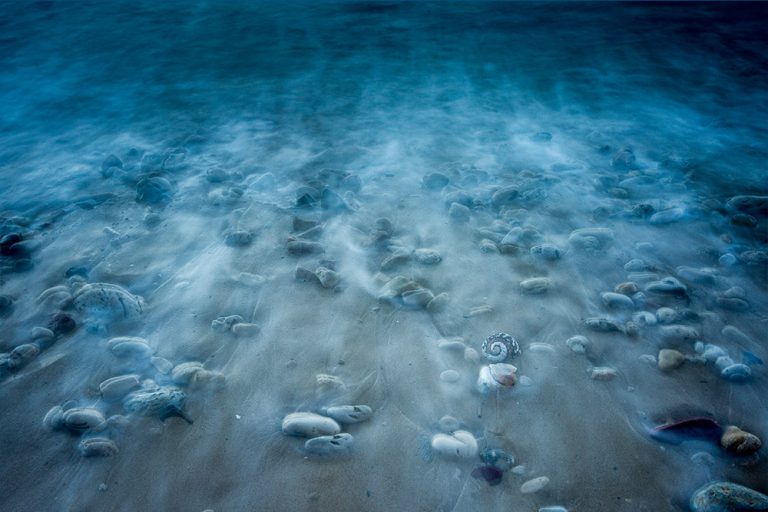
Using the LEE Little Stopper. ISO 640, f/8, 8 sec.
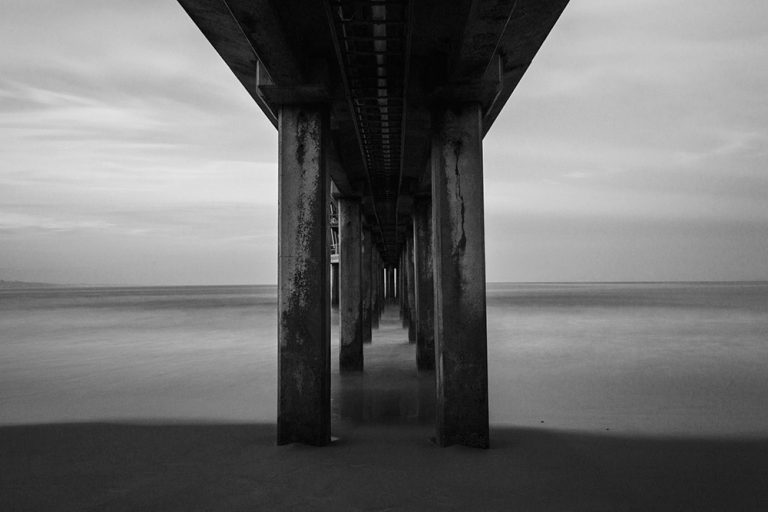
LEE Little Stopper. ISO 800, f/9, 25 sec.
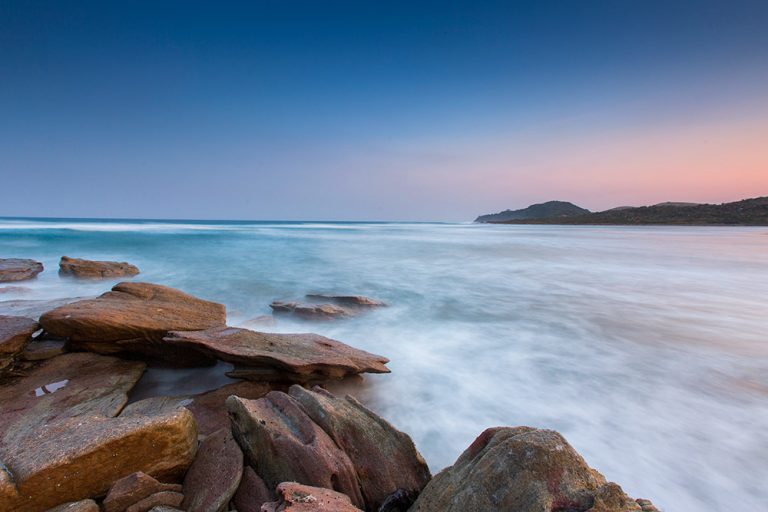
LEE Little Stopper and 0.9 Soft Grad ND filter. ISO 100, f/11, 13 sec.

Left, without filter. Right, using the LEE Little Stopper and the 0.6 Hard ND Grad filter.
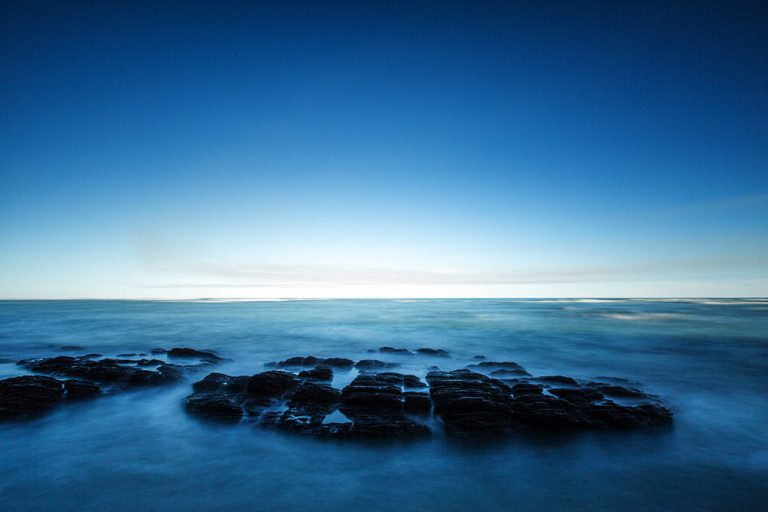
LEE Big Stopper, 0.6 Hard Grad ND filter. IS0 100, f/8, 20 sec.

LEE Little Stopper, 0.9 Soft Grad ND filter. ISO 100, f/10, 5 sec.
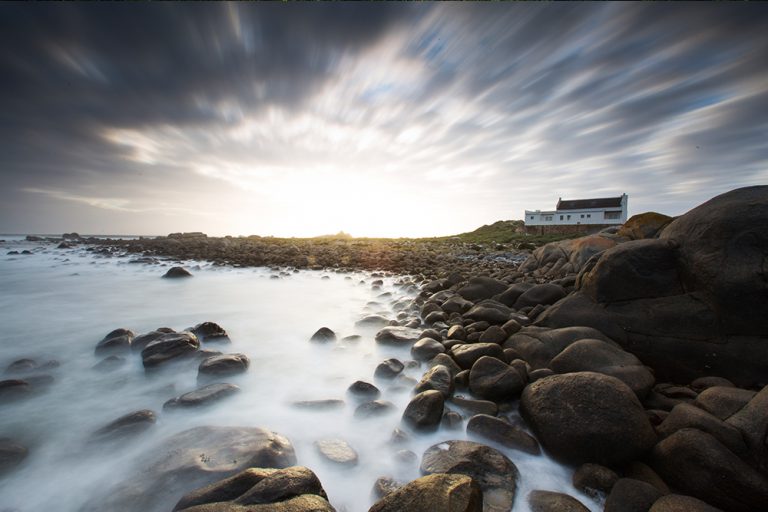
LEE Little Stopper, LEE 0.9 Soft Grad ND filter. ISO 125, f/9, 10 sec.
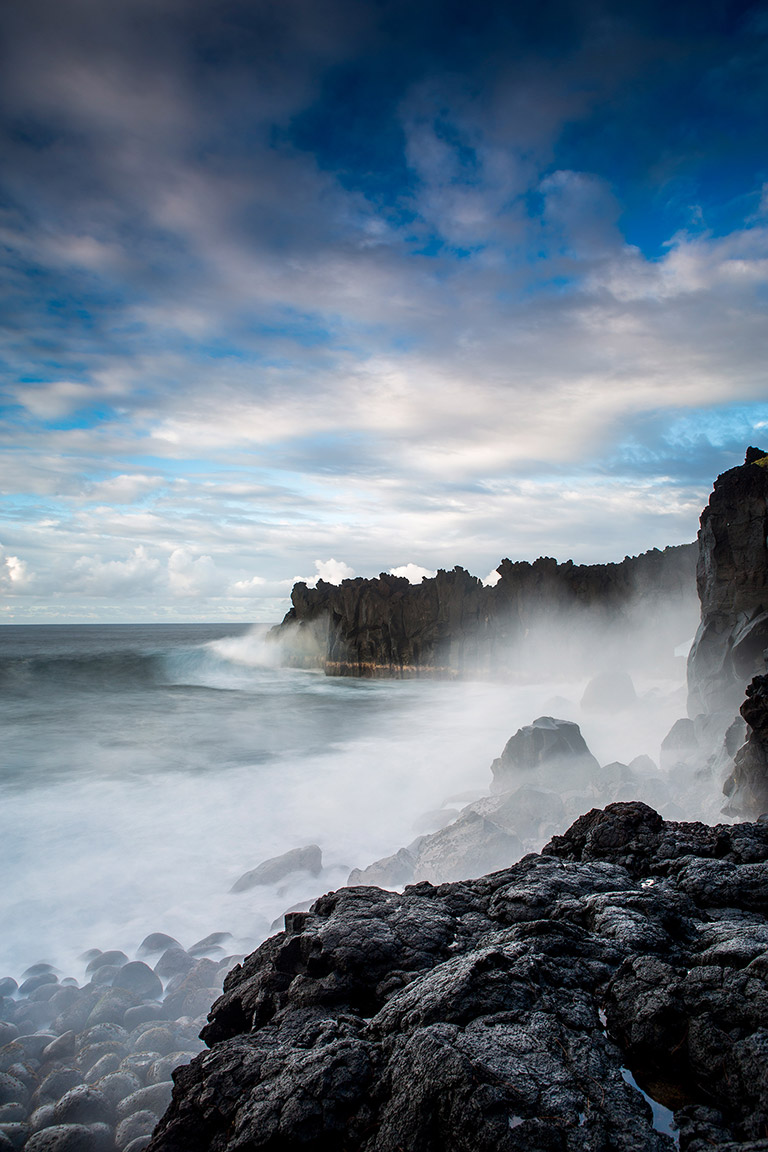
LEE Little Stopper, 0.9 Soft Grad ND filter, ISO 100, f/10, 5 sec.


You may also like
Related Posts
The outdoor lighting game is evolving. Solar is getting better, and there are colour-changing, phone-charging...
read more
If you’re spending time in nature, make sure your kit goes green too, writes Gear...
read more
Ventilated back panels, air-flow systems, foam ridges – daypacks these days almost make it too...
read more